The mini photo studio was made with a cardboard box. I attached fabric to the box with Terrifically Tacky Tape {I love that stuff - it sticks better than anything else I've ever found - and I've tried a lot of tapes; I use it for so many of my crafts}. It was easy to make, but a bit time consuming.

The fabric I used was white felt; I don't know if it's better than other things you can use for a mini photo studio, but I used it because I thought it would be easier to attach to the cardboard box. So far the felt background works just fine.
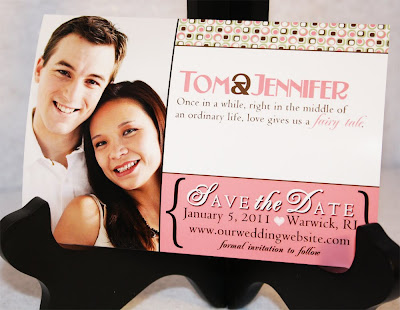
Now I can rock photos like these:
I'm in love with the huge difference in photo quality between when I photographed before and what my mini photo studio does.
Two tips:
- The mini lamp makes a huge difference. I tried taking photos with and without and with the lamp is definitely better.
- I also tried with and without the flash on my camera, and taking the photos with the flash on gives better results also.


No comments:
Post a Comment